Putting Myself Into a Music Video With H3 and a Small GPU Farm
Full edit in sync, with original audio. This comparison uses the normalized source framing. The individual examples below are silent, synchronized loops.
Every frame grab below comes from an actual source or render. “Selected” means the take chosen under the relaxed visual review criteria, not a claim of perfect reproduction. No failures were recreated for illustration.
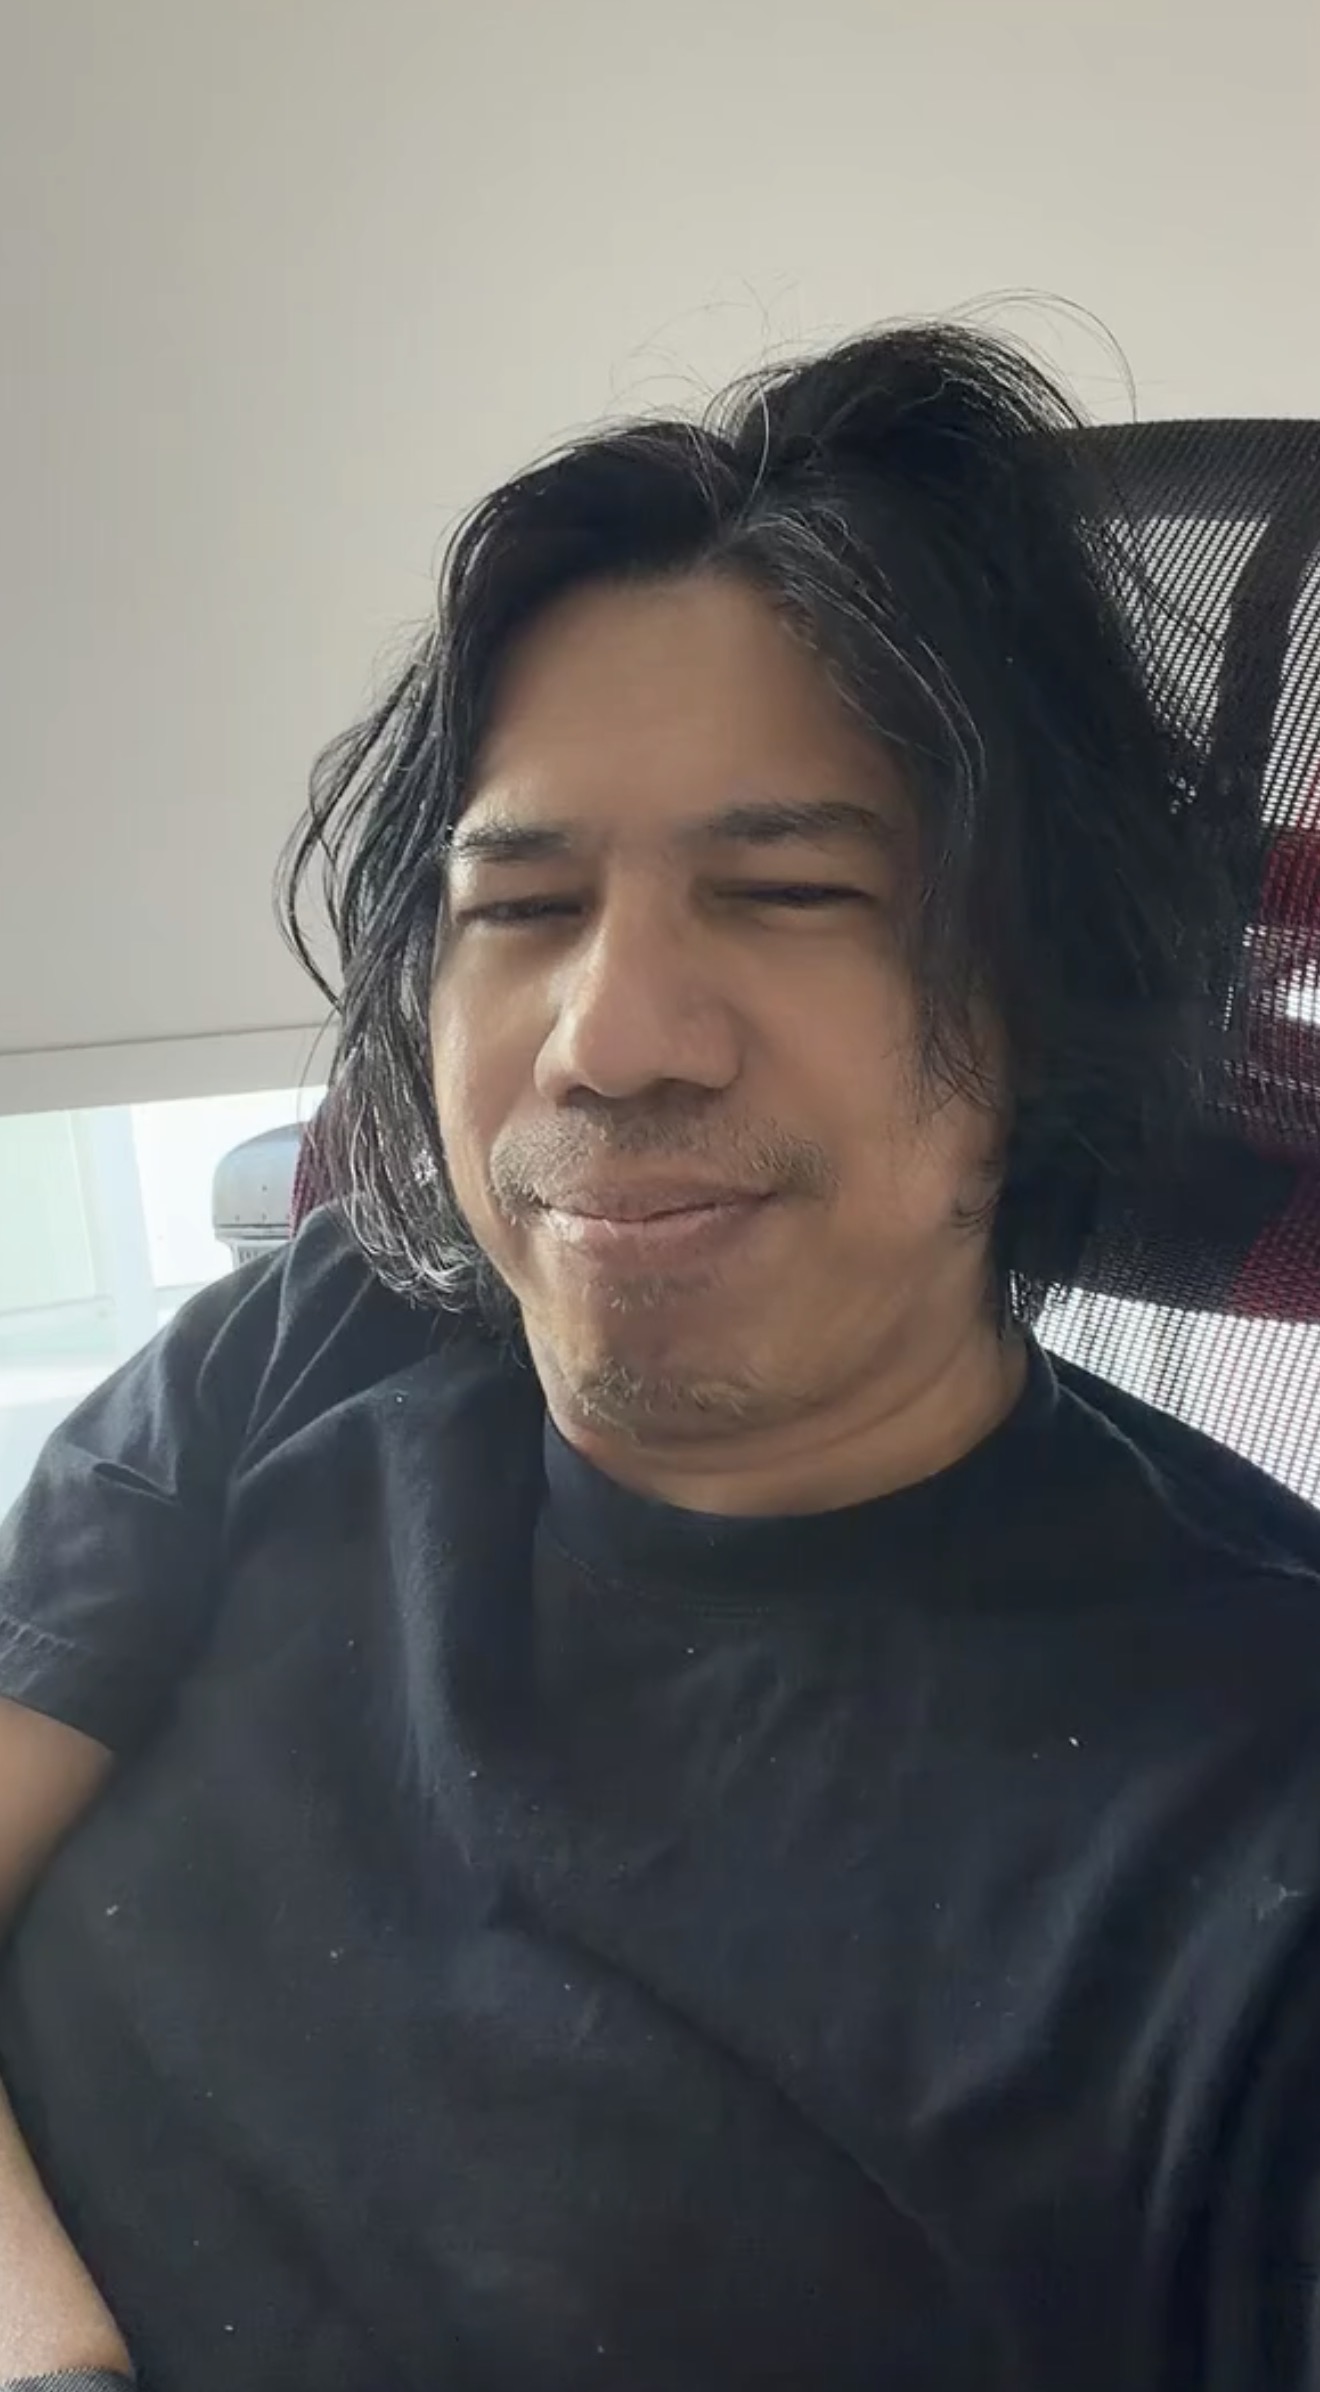
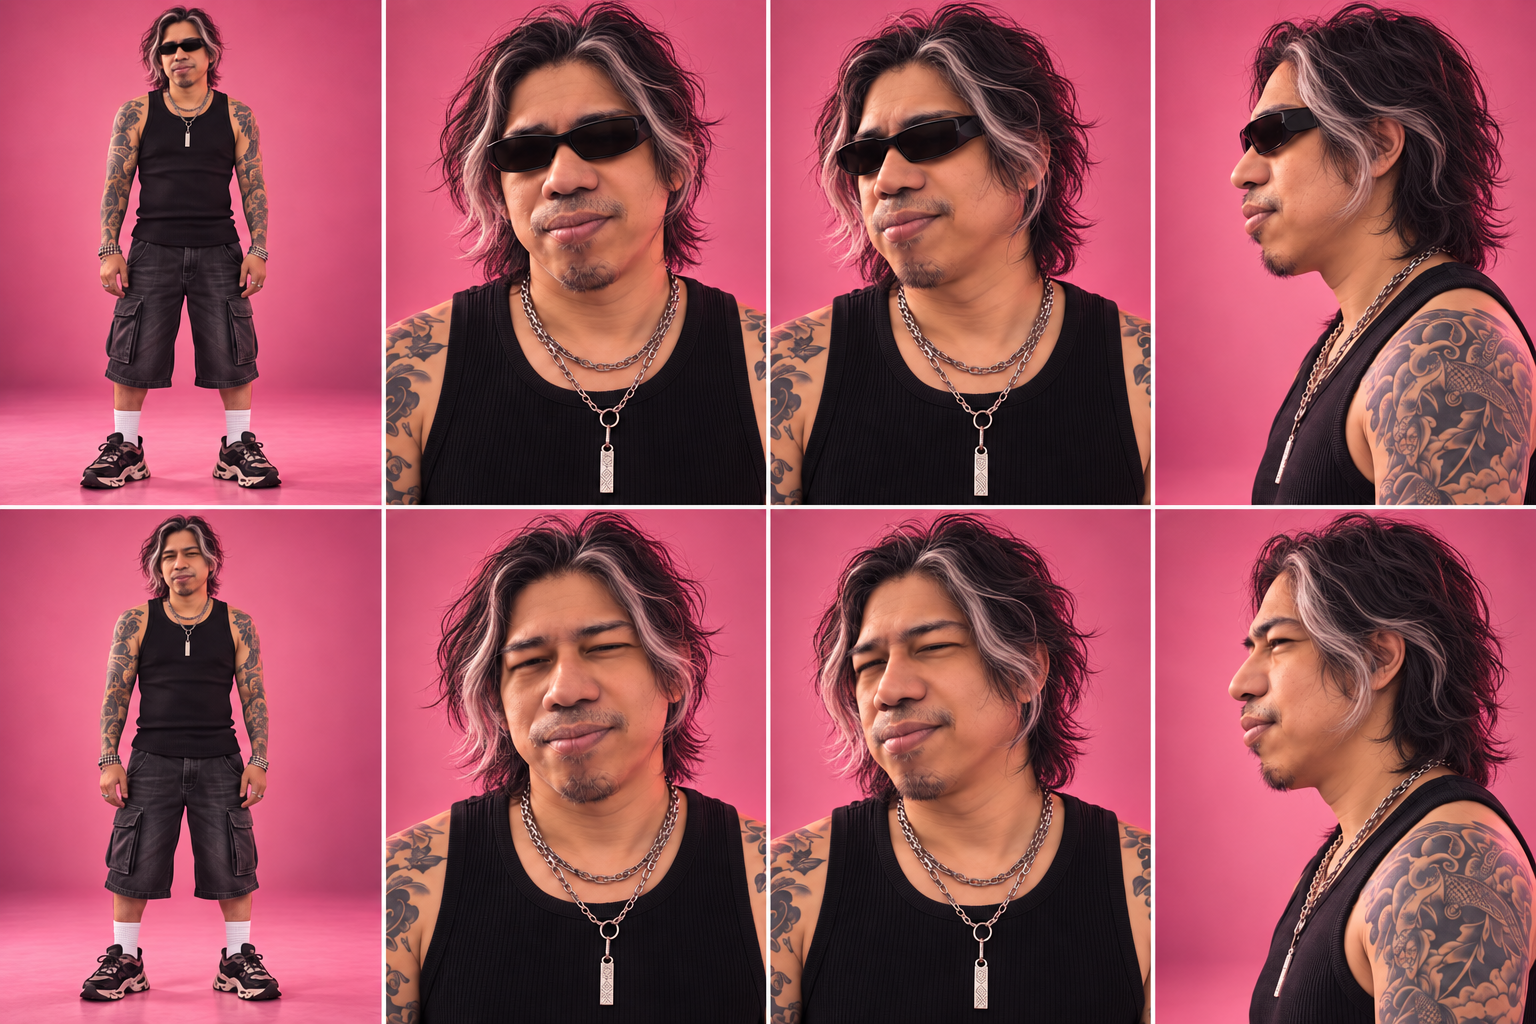
I wanted to step into a music video as a character I had designed: sunglasses, tattoos, chains, shorts, a tank top, and my own black hair with deliberate silver streaks. I wanted the performance and camera energy of the original, with a face that still looked like me.
The first test used a roughly 22-second clip. Then I brought in a longer version with a similar opening and extended the edit to about 45 seconds. That turned a character-swap experiment into a small production: identifying cuts, deciding which results to reuse, managing rented GPUs, and checking every shot before putting the timeline back together.
The completed cut is 45.25 seconds, 1,086 frames at 24 fps, rendered at 1344 by 768. It has passed the recorded visual shot and cut reviews. It still has some differences in expression, lighting, hair, and accessories. Audio waveform timing matches the source, but that measurement cannot certify how every generated mouth movement feels during playback.
My character took longer to settle than the initial idea
I started with leather jackets and a rock-star look. A flashier variation with a hat went too far toward cowboy. I pulled it back toward Tokyo street style, then tried a tank top, shorts, tattoos, bracelets, and chains. Braids did not feel like me either. My regular loose hair, with distinct silver accents at the front, worked better.
These were artistic decisions with practical consequences. Every change created another opportunity for the character to vary between shots. Sunglasses could switch styles. Hair could lose its silver streaks. A sleeve or cuff from an earlier outfit could survive after the rest of the costume had changed.
The useful reference eventually became a character sheet on a pink studio background, closer to the source video's environment and lighting. It included views with and without sunglasses. Alongside that sheet, I kept my original portrait as the reference for facial identity. The sheet described the character design; the portrait anchored who was wearing it.
Matching the source performance created another problem. Some attempts became too faithful to the original actor's facial structure and moustache. I had to make the distinction explicit: follow the broad action, emotion, gaze, and singing rhythm, while retaining my facial proportions. Modest expression drift was a better trade than losing my likeness.
One video became a collection of small jobs
The basic process was to split the source at its cuts, annotate each shot, generate the replacement, review the result, and stitch the selected clips together. A woman-only section could pass through untouched.
The prompts needed to describe what was actually happening. A distant man dancing behind a woman is a different replacement problem from a close-up at the drums. Passing sunglasses between performers needs an explicit owner before and after the handoff. Two flags need to remain in the correct person's hands.
The setup included H3 Reference Manager, PromptDirector, and OpenRouter. Later production jobs used prepared shot-specific prompts rather than making a fresh OpenRouter call on every render. Cloud workers still needed the H3 text encoder; using OpenRouter for description and prompt preparation did not replace the encoder inside the video model.
I kept inspectable ComfyUI workflow files as well as the PocketAI submissions. That mattered when an output looked wrong: I needed to see the actual references, guide video, and settings that had reached the model.
The mask was part of the direction
The central replacement method used SAM3 to track the male performer, invert the colors within that region, and feed the resulting video into H3 as motion guidance. This encouraged the model to redraw the target while retaining the performance around him. It was guidance, not a guarantee that every background pixel would remain unchanged.
Two late failures made that distinction very concrete. In one short camera-pan shot, the mask targeted the woman instead of the man on the left. The output changed her clothing and left him behind. Bypassing that mask with the original-color video produced another failure: my character appeared as a third person.
The eventual repair was an eight-frame mask tracked specifically around the left-hand man. The woman stayed outside it. That result kept the intended two actors and followed the rapid pan.
Replacing the man instead of adding a third actor
Rejected: my character appeared between the original performers. Selected: a manually tracked mask targeted only the man on the left; the woman and fast pan stayed intact. The face is motion-blurred, so likeness is less certain than in a close-up.


Another shot had nine empty masks across its 21 frames. The guide alternated between an inverted performer and an untouched performer, and the render produced flashes and inconsistent clothing. Filling those missing masks gave a better result than another round of prompt rewriting. The repaired shot still looks brighter than the dark original, but the ducking action and clothing became usable.
Repairing a mask that vanished between frames
Rejected: missing masks produced negative-color flashes and surviving source clothes. Selected: filling nine empty masks restored a consistent character and the ducking motion. The selected take is still brighter than the source, with graphics about two frames early.


Segmentation also needed review. One supposed shot contained a second cut: a singer with a female drummer became a solo singer. Generating across that cut carried the woman and drum kit into the solo section. Splitting it into 45-frame and 30-frame jobs solved the structural problem.
Finding a cut hidden inside a shot
Rejected: the woman and drum kit continued into the solo section. Selected: two separate generations meet at local frame 45, preserving the source cut from a duo to a solo performer.


The settings that reached the edit
The main video model was minimax_h3_ref2va_pruned_int8_convrot.safetensors, with MiniMax-H3-Ref2VA-Acc-8Step_pruned_comfy.safetensors at strength 1.0. Later repairs used eight sampling steps, the res_multistep sampler, a simple schedule, and denoise 1.0. Earlier attempts used ten steps, so this was not a clean benchmark of eight versus ten.
The video VAE was minimax_h3_video_vae_int8_convrot.safetensors, with minimax_h3_audio_vae_fp32.safetensors for audio. The local text encoder was qwen3vl_32b_minimax_h3_nvfp4_awq.safetensors; the cloud profile used qwen3vl_32b_h3_ultra_uncensored_heretic_int8_convrot.safetensors.
Reference images were resized to a maximum edge of 768 pixels. I moved from smaller exploratory renders to the final 1344 by 768 target. Some motion-guidance experiments ran more slowly and had to be restored to the source frame count. The last focused repairs used original timing.
We also tested face-only refinement on already altered footage. It promised to preserve a good costume and scene while fixing the face, but the trials introduced their own conditioning and merging problems. I returned to full-shot generation. A local character-swap LoRA comparison did not show a clear enough advantage to make it the default.
Keeping my face and the close framing
Rejected: the camera widened, the face remained source-like, and an old cuff survived. Selected: the pink reference sheet helped retain a close view, my fuller face, and bare tattooed arms.


Giving both flag hands back to the right person
Rejected: the raised arm near the man was attributed to the woman. Selected: both flags belong to the man again, with the woman and background preserved.


Removing a floating shape from an otherwise useful take
Rejected: a black cloth or limb-like shape appeared behind the man near the left drum toward the end. Selected: that artifact is gone while the woman, glasses handoff, and set remain. Facial expression is more subdued than the source.


Renting compute did not remove production work
PocketAI and Tensor Master routed jobs to my local RTX 3090 and rented RTX 5090 workers. The rentals used configured profiles and images through that system. The local card remained useful for short repairs even when the cloud work was finished.
The difficult part was keeping the whole process supplied with useful work. Rentals had idle and maximum-lifetime limits. Some expired while preparation or review lagged behind. A full local disk also disrupted result returns and state updates. A GPU finishing its computation was not enough; its output had to arrive safely and be recorded.
The workflow improved when preparation, QC, and farm monitoring ran in parallel. Jobs could render while completed clips were being checked. The last cloud worker returned 19 completed outputs, all verified in the local cache before its idle termination.
The surviving database records 179 APT tasks and 158 completions. From its earliest recorded job creation to its last completion, the observed span was about 12 hours and 10 minutes. That includes tests, waiting, queueing, failures, and iteration; it is neither hands-on editing time nor a claim about the complete project's start.
Recorded generation time across those completions adds up to about 9 hours and 39 minutes. Parallel workers overlap, so that sum is not elapsed production time. It also includes abandoned versions rather than only the clips in the edit.
Recorded rental rates ranged from roughly $0.91 to $1.14 per hour. For the last worker, rate multiplied by its recorded lifetime gives about $1.43 in estimated compute cost, excluding other charges. I do not have a verified invoice total for the whole experiment, and one rental's local timestamps conflict with the provider checks. A precise-looking total would be misleading.
What made the cut usable
The finishing work was specific: remove the extra actor, keep the woman unchanged, restore the right glasses, preserve the pan, and choose the face that still looked like me. The cut review found a single source-actor flash at a boundary. Keeping one more generated frame and starting the woman-only passage at its actual cut removed it.
The final review covered all 31 listed boundary positions, including the beginning and end, plus the repaired problem regions. The stitched file decoded successfully with all 1,086 frames. The original audio was remuxed across the full edit; waveform comparison found no timing offset. That is evidence of timeline preservation, not proof of perfect generated lip sync.
I came away with a usable character-replacement cut and a much clearer production method. Design the character early. Give identity its own reference. Describe each shot's actual action. Inspect the motion guide when a render fails. Keep the farm supplied while reviewing finished work. And spend the final pass looking at the edit as an artist, because a technically completed job can still put the wrong person in the frame.
The selected cut
Visual shot and cut QC passed. Remaining caveats include brighter lighting in shot 20, small accessory variations, and less expressive faces in some shots. Audio waveform timing was checked; perceptual lip-sync listening remains unverified.